

Set up MyPrint on a Windows Computer
The following steps will add a MyPrint print queue to your Windows computer. They do not currently work with devices with an Arm processor. These instructions are primarily for students or others who have computers that aren't managed by Brown. If you have a computer managed by Brown, you can ask your computing support staff (ITSC or DCC) to add the queue(s) to your computer.
Undergraduate students should use the MyPrint-BW and MyPrint-Color queues.
Faculty, staff, and graduate and medical students should use the MyPrint-Pro-BW and MyPrint-Pro-Color queues.
Add the Print Queue to Your Windows Computer
- Connect to Brown wireless (not Brown-Guest or Eduroam). If off campus, connect to the VPN.
- Download and run the PaperCut Mobility Print Printer Setup application.
- Follow the on-screen instructions.
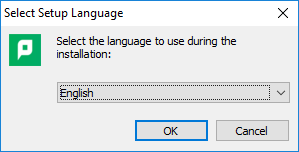
- Select setup language.
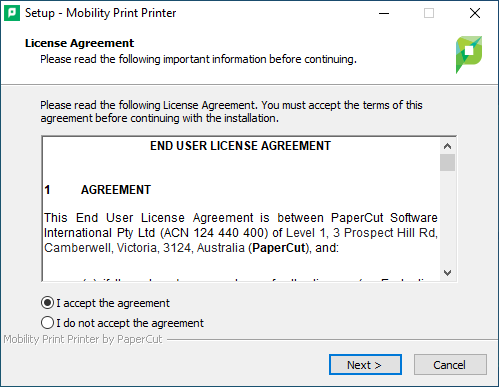
- Agree to the license.
- Select your desired MyPrint printer queue(s) to install.
Undergraduate students should use the MyPrint-BW and MyPrint-Color queues.
Faculty, staff, and graduate and medical students should use the MyPrint-Pro-BW and MyPrint-Pro-Color queues.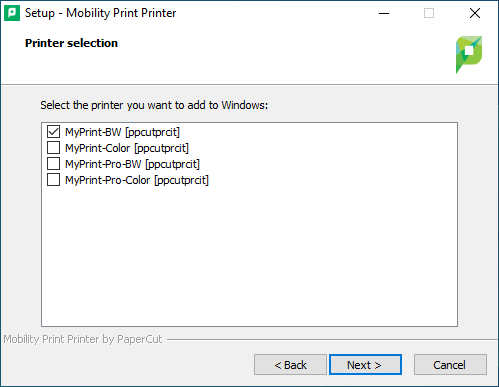
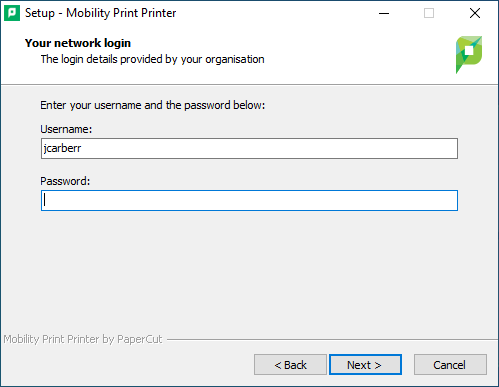
- Enter your Brown username and password.
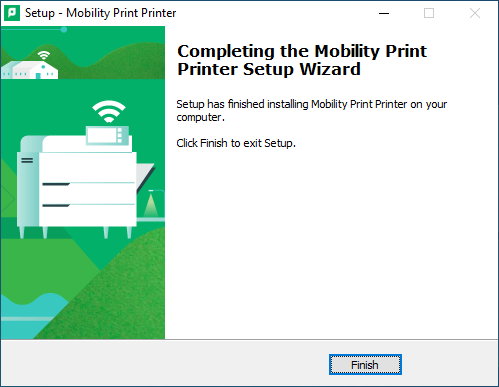
- Click Finish to complete installation.
After following these steps, you can now Print to MyPrint from Your Windows Computer.