These instructions only work on MyPrint-Pro multifunction printer/scanner/copiers.
- At the printer, swipe your Brown ID card.
- Place your document on the scanner bed or in the multi-page document feed.
Long document? We recommend scanning in batches of 50 pages or less - files are sent by email, and too large an email may have issues sending. - On the screen attached to the printer, tap the Scan icon.
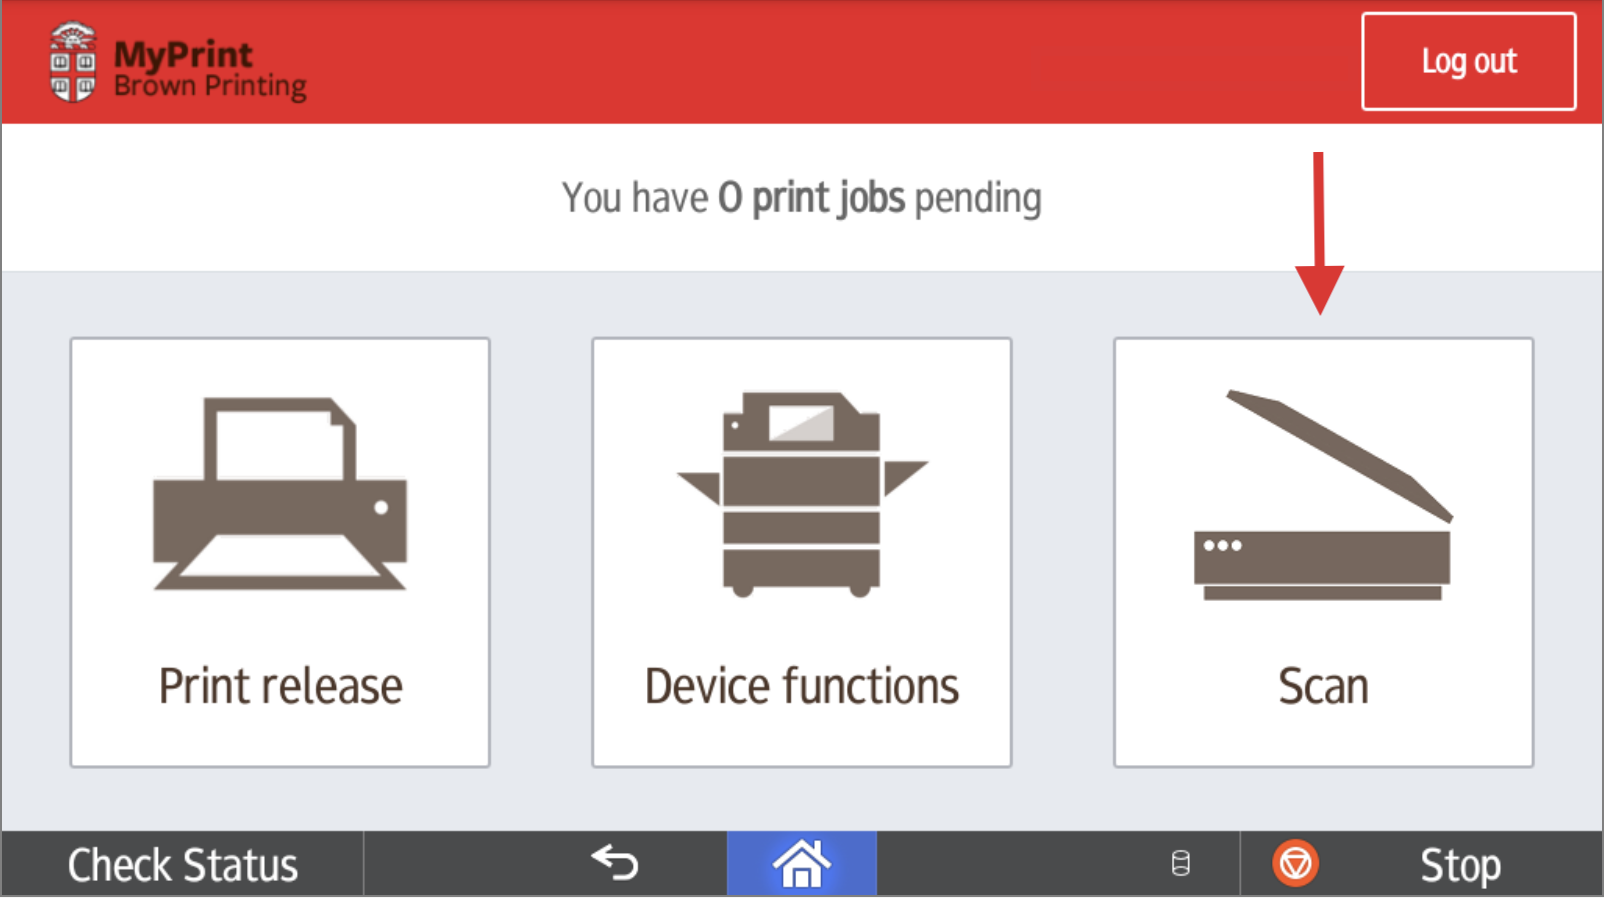
- Tap Scan to My Email (to receive an email) or OneDrive (to scan to your OneDrive folder).
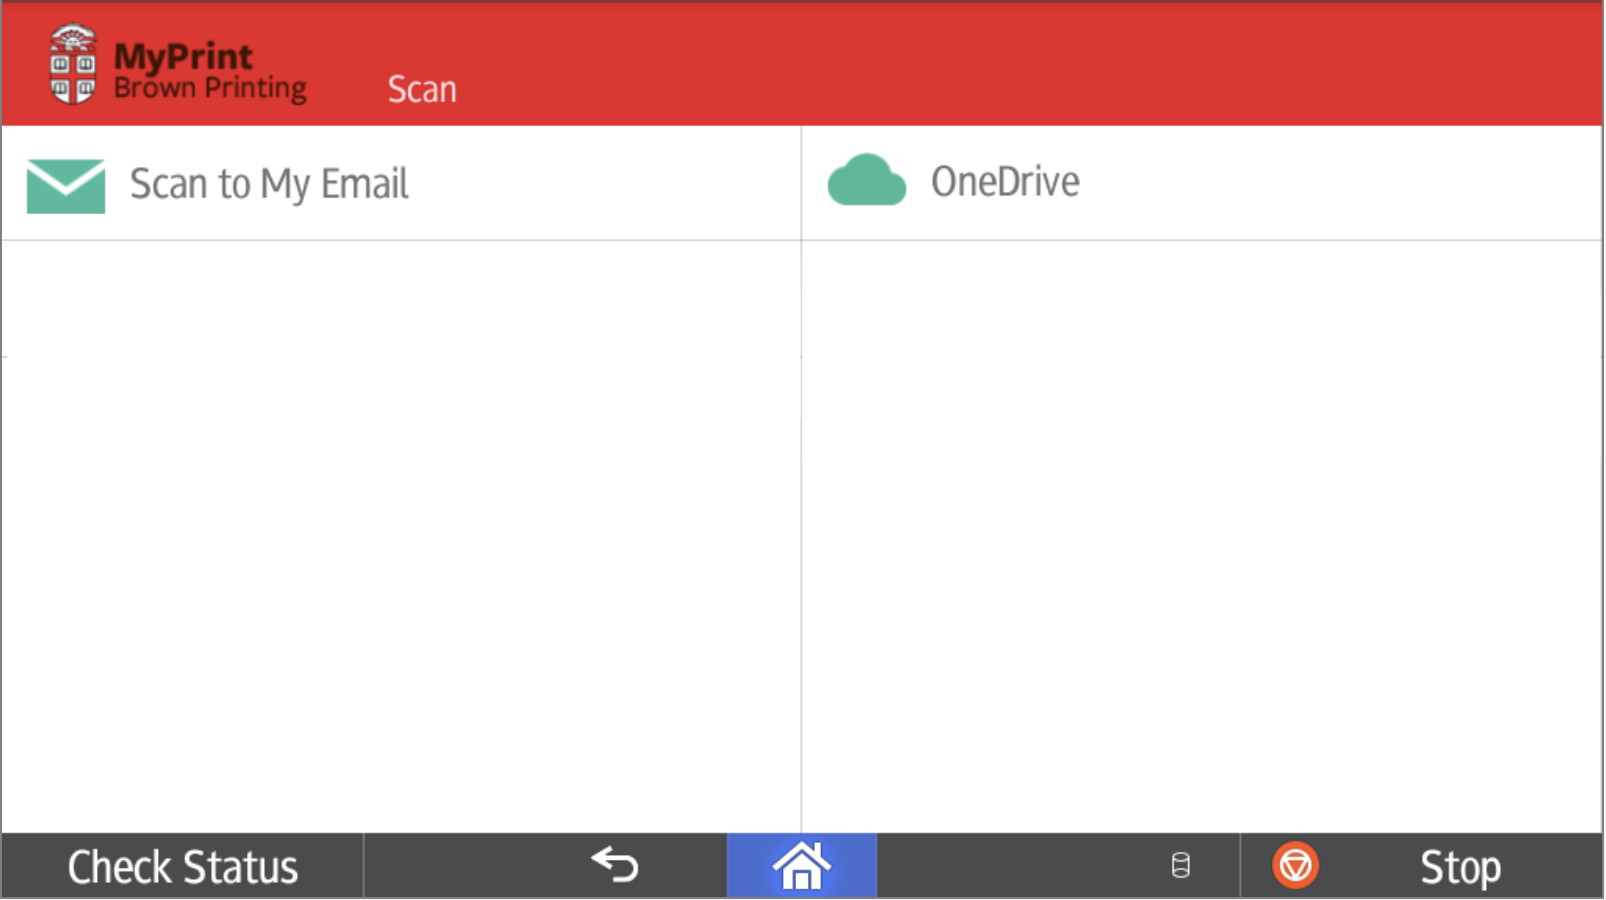
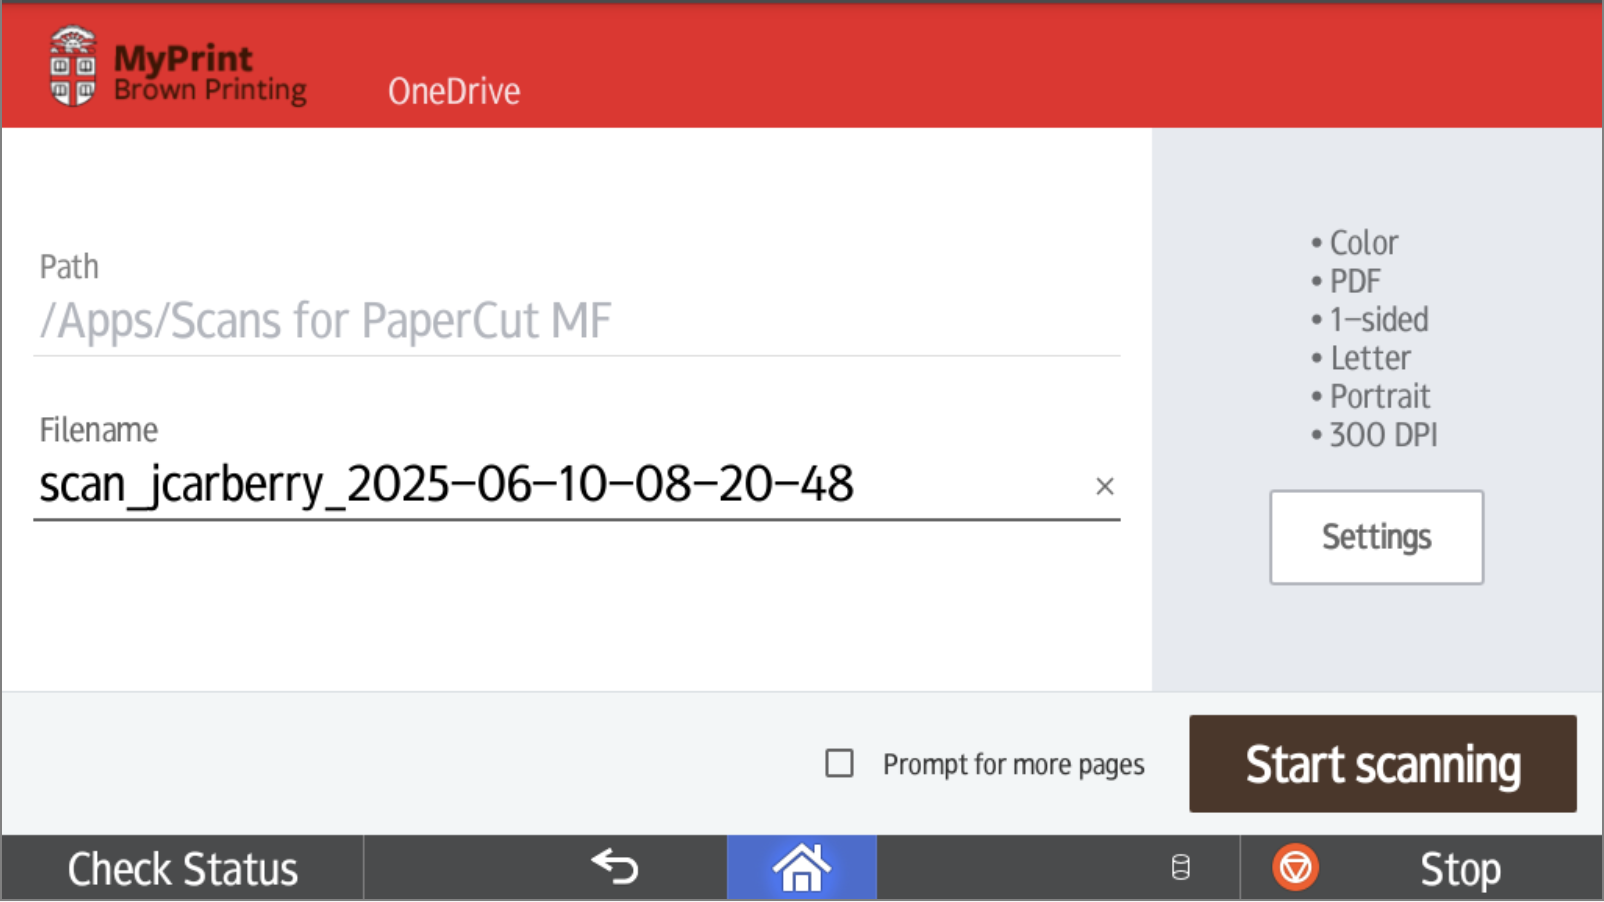
- If desired, tap the Filename text to customize the file name, or Settings to change scan settings such as color mode, resolution, and file type (full list of settings included below).
- Tap Start scanning. The document will scan.
- After scanning, you will see buttons to Scan More pages or Send the document.
- After tapping Send, the document will be sent to your Brown email address (if you chose the email option) or saved to your OneDrive folder (if you chose the OneDrive option). The OneDrive option will also generate a confirmation email, sent from [email protected], that will include a link to your files, so you know your files have been successfully scanned.
*Please note that the first time you scan to your OneDrive folder, you will receive an email from the print system (Papercut) requesting authorization to access your OneDrive folder (see Authorize Papercut for use with OneDrive). - When you are finished, tap the Log Out button on the top right.
Accessing Your Scanned Files
- Email option: The email is automatically sent to your official Brown email address. If you need to send a scan to someone else, you can simply forward the email to them. Emails will come from [email protected].
- OneDrive option: The scanned file will be sent to the Scans for Papercut MF folder, located in the Apps folder on your OneDrive. You can access your OneDrive account from your Mac or PC, the web, or a smart device. For more information about accessing and utilizing your OneDrive account, visit Get Started with Microsoft OneDrive.
Scanning Settings
By default, the scanner uses these settings:
- Single Sided
- 8 ½ x 11
- Letter
- 300 DPI
To customize these settings, touch "Settings" and you'll be able to choose:
- Single Sided / Double Sided
- Orientation
- Paper Size
- File Type
- DPI (resolution)
- Color / B/W
Advanced Scanning Options
Certain options are only available through the advanced scanning function, including OCR scanning. Here's how to get there.
- At the printer, swipe your Brown ID card.
- Place your document on the scanner bed or in the multi-page document feed.
Long document? We recommend scanning in batches of 50 pages or less - files are sent by email, and too large an email may have issues sending. - Tap the Device Functions button.
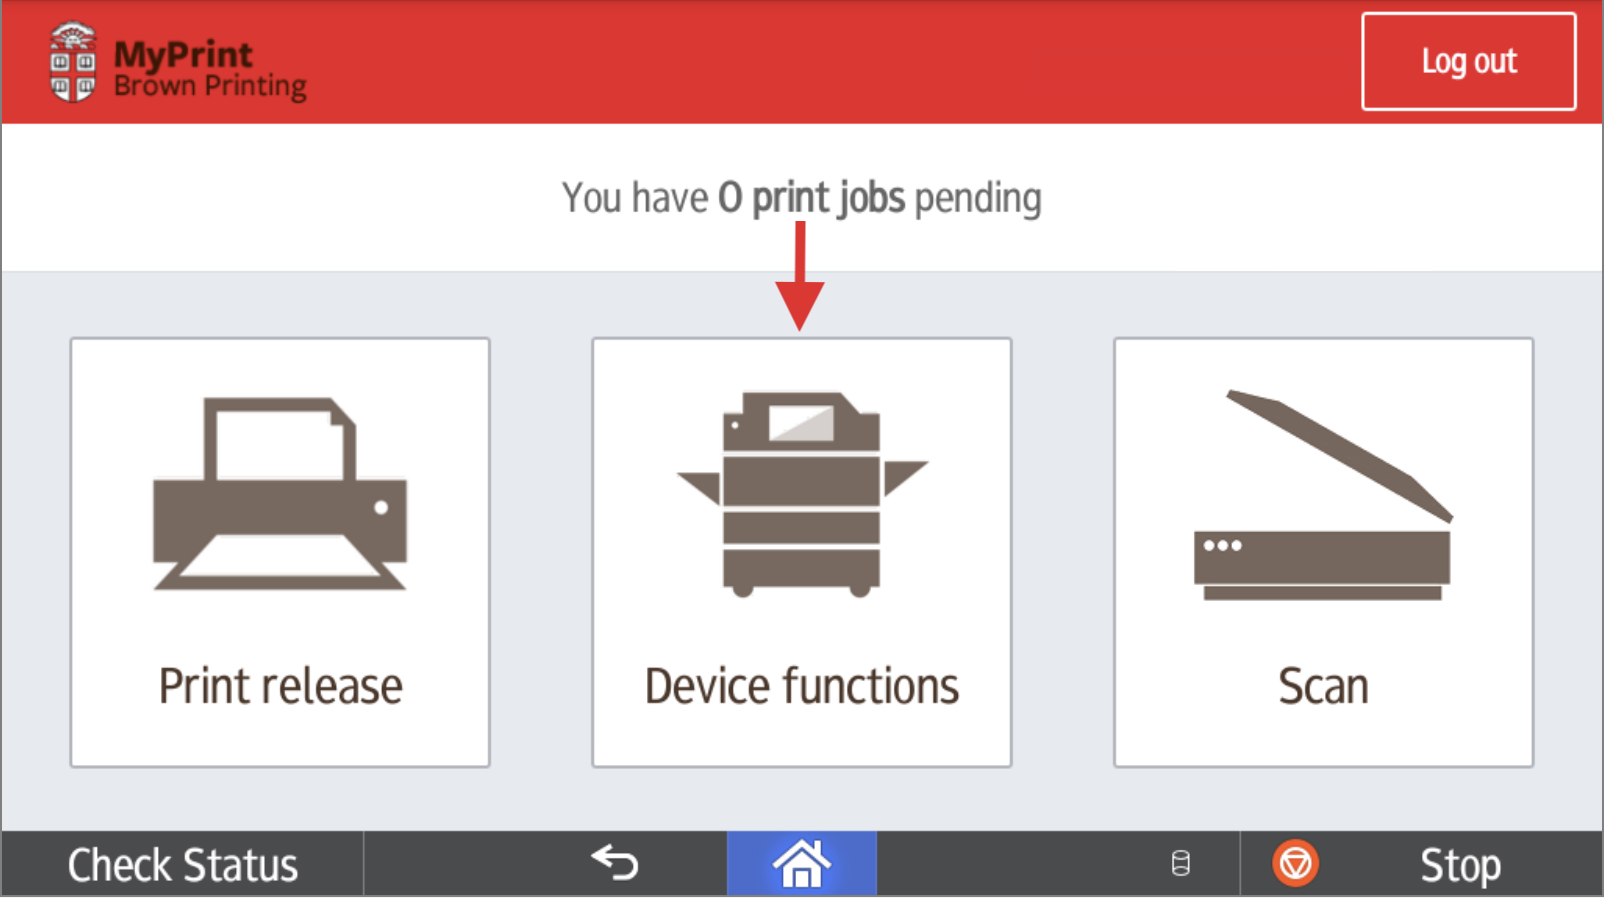
- Tap the home button at the bottom of the screen (it's important to tap Device Functions first - the home button is always visible but won't have the Classic Scanner option if you tap it from another screen.)

- Tap the Scanner icon. If you don't see it, swipe the blue screen left and/or right to see if it is on another page of icons.