Note: This version is suitable for shared systems, such as a lab computer, where one LabVIEW activation works for all users on the same computer.
Windows
- Download the LabVIEW installer for Windows.
- Right-click the installer and select Run as Administrator.
- Select Start to unzip installation files.
- Click on all components of LabVIEW you wish to install then click Next.
- Click on any additional items you wish to install then click Next.
- “Accept 2 Licenses”, then click Next.
- Click Next.
- “Install Summary”, Next.
- Reboot to finish installer.
To Activate License in Windows: (after install)
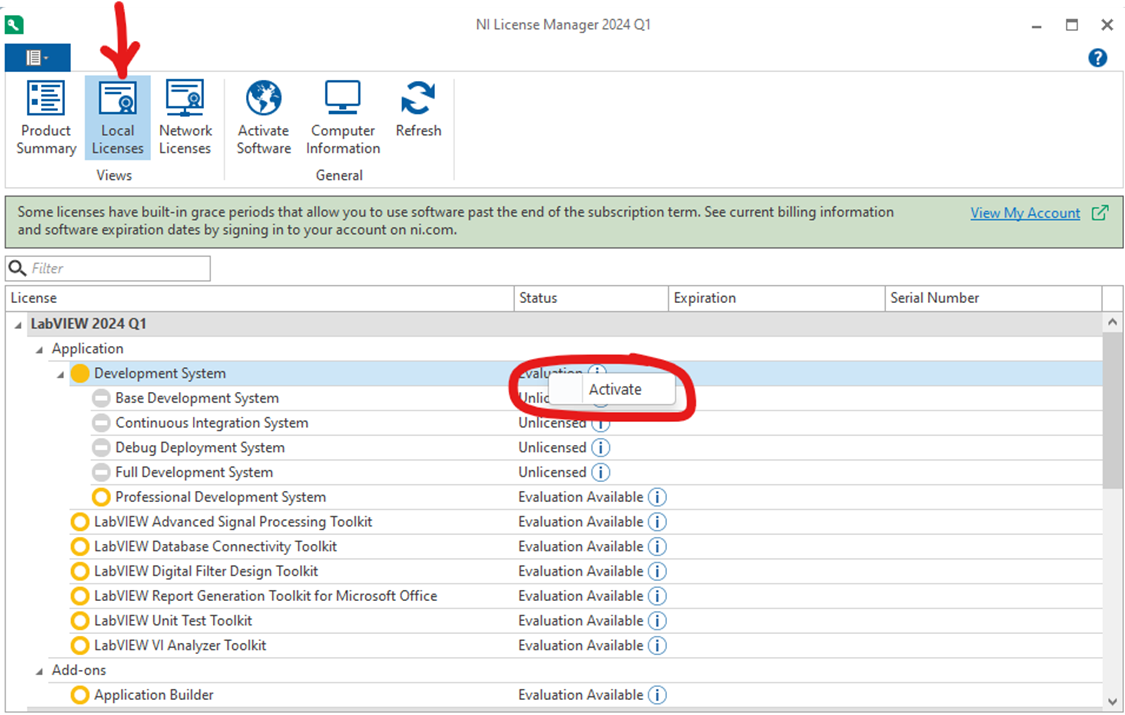
1. Click Start Menu and launch "NI License Manager"
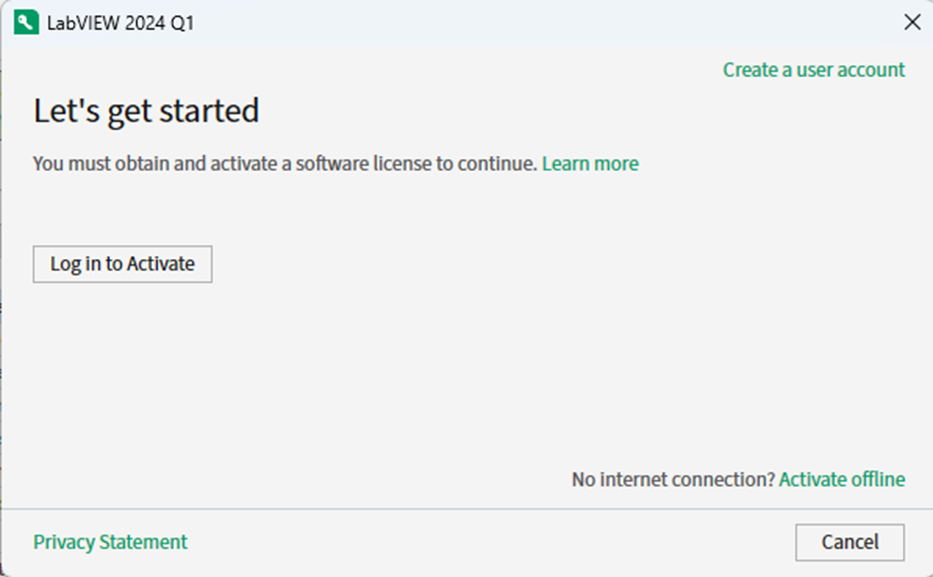
2. You need to log in to "Activate" by either using your previously setup credentials or "Create a user account"

3. Once logged in, right-mouse click the entry and select "Activate" as demonstrated below:

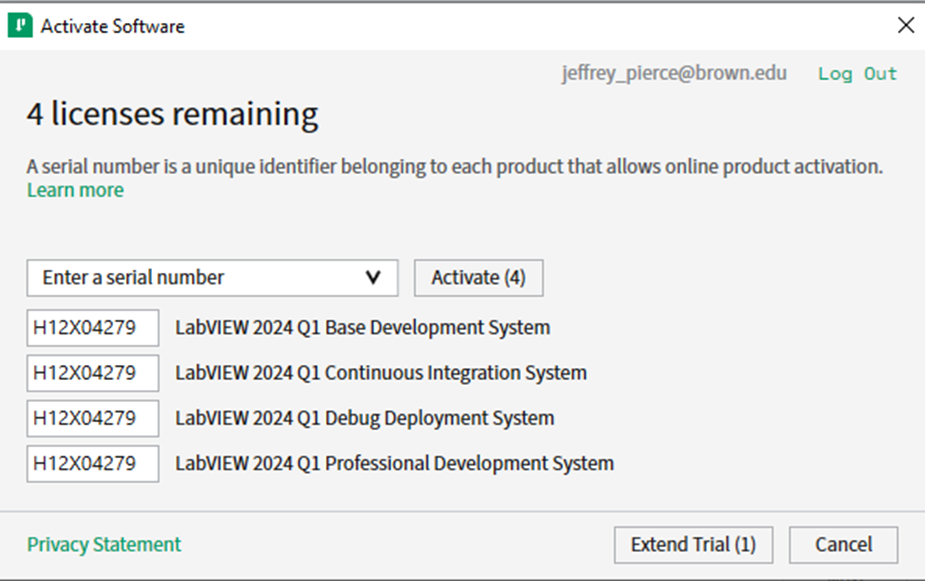
4. Select "Enter serial number" in the dropdown

Use this license number for student use: D11L1084267 (Good for 4/13/2025-4/14/2026)
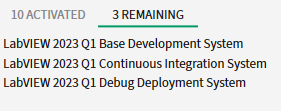
*PLEASE NOTE: This above license works for all but 3 components of LabVIEW. There were be 3 remaining items that do not license with the Brown Student License.

macOS
- Download the LabVIEW disk image for macOS and double-click it.
- From the LabVIEW volume, double-click the package file to install the base application.
- Follow the installation steps, choosing the default options.
- From the same volume, open the Extras folder and install the LabVIEW Runtime Engine using default choices.
- Install any necessary drivers for your hardware from the Drivers page linked in the LabVIEW volume.
- To install the Control Design and Simulation package, download and run the LabVIEW_2022_Control_Design_and_Simulation_Module.pkg installer. Choose the default installation options.
