How to Install ArcGIS Pro
Important Note: ArcGIS Pro can only be installed on a Windows computer. If you have a Mac, you can use ArcGIS Pro as part of the MyApps Service. More information about the MyApps service can be found here.
Obtain Download and Install Software:
1. Visit https://brown.maps.arcgis.com/home/user.html#settings
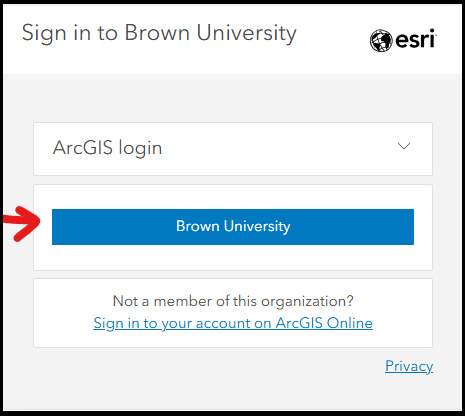
2. Click "Brown University"
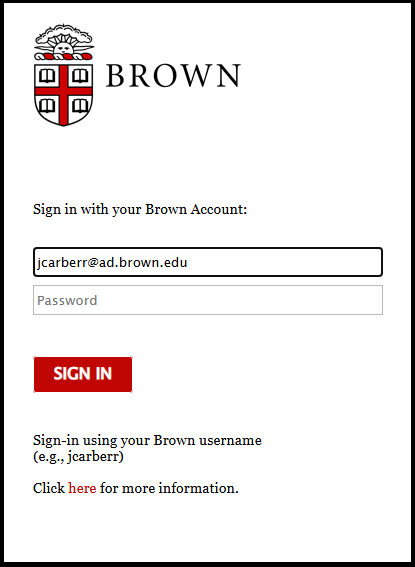
3. Sign in using your Brown Microsoft account as shown below

4. Enter your Brown account password
5. Complete Duo two-factor challenge
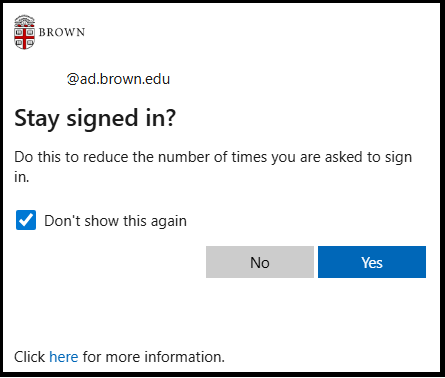
6. You can choose to save your login information or not
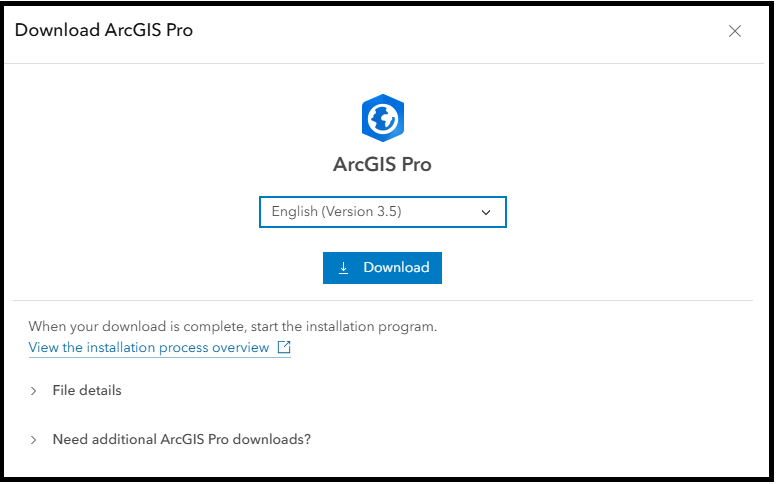
7. Scroll down to see: ArcGIS Pro and click "Download ArcGIS Pro"

8. Select the version you wish, this screen will default to the latest version and click "Download"
9. Open the installer and follow the on-screen instructions (see below)
Installing ArcGIS Pro (Step-by-Step):
For reference, ESRI provides their own IT Article if you choose to customize your installation.
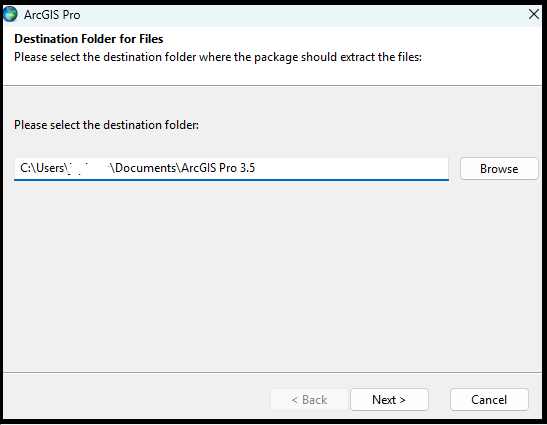
1. Navigate to the "Downloads" folder and double-click on the downloaded EXE file from step 9 above
2. Click "Next" on this dialog box:
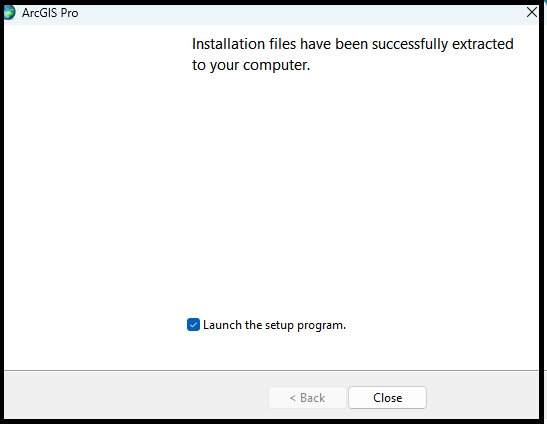
3. Ensure the checkbox is "checked" in order for the installation to continue and click "Close", this will start the installation of ArcGIS Pro software.
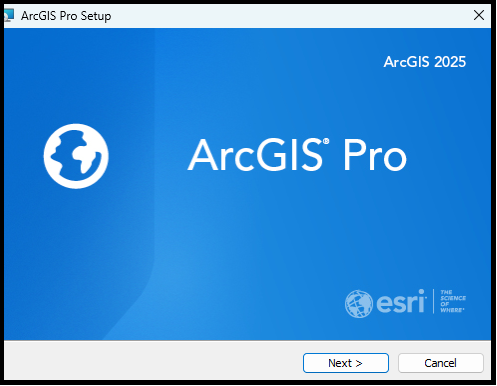
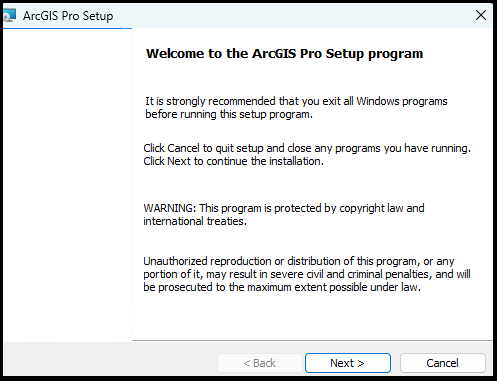
4. Click "Next"
5. Click "Next"
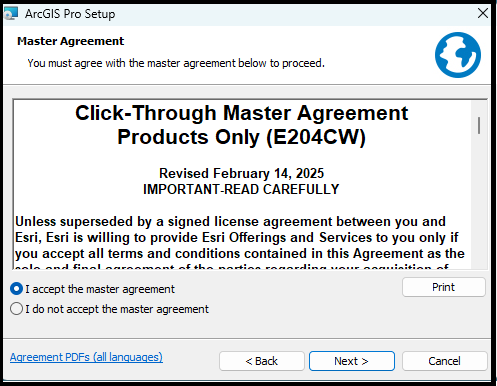
6. If you agree, select "I accept the master agreement" then Click Next
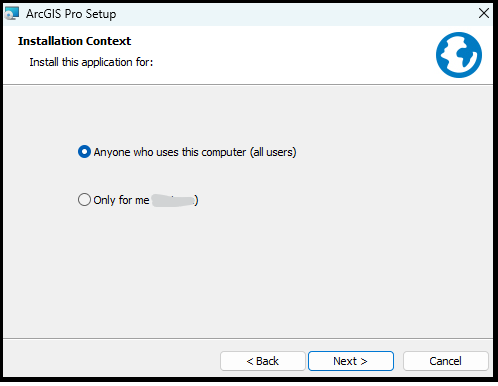
7. Decide if you want to install the software for your user account on this computer or any user account on this computer:
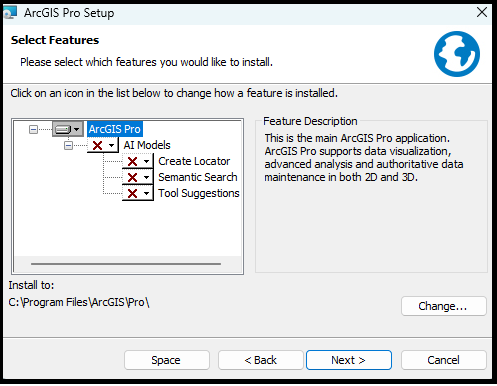
8. Select which features you wish to install then click "Next". (Default settings are most common):
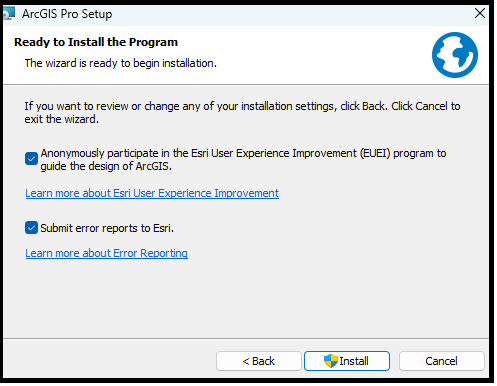
9. Decide what options you wish to select:
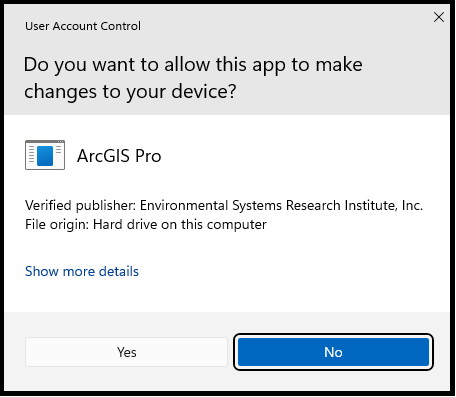
10. Select "Yes" to allow this app to install the software. (Important: You must be administrator of the computer in order to install this software):
11. Allow some time for the software to install:

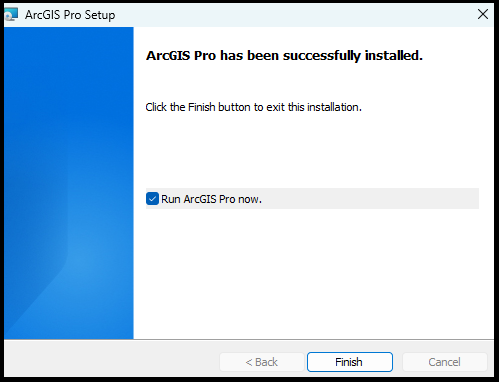
12. The software will be completed when you see this screen: