Sync files with OneDrive on macOS
When you install the Microsoft OneDrive sync app for Mac on your computer, a copy of your OneDrive is downloaded to your Mac and put in the OneDrive folder. This folder is kept in sync with OneDrive.
If you add, change, or delete a file or folder on the OneDrive website or Mac, the file or folder is added, changed, or deleted in your OneDrive folder and vice versa.
To upload files to OneDrive automatically, just save them in your OneDrive folder from an app, or move the files to your OneDrive folder using the Finder. If you installed the OneDrive app on other computers, the files will automatically be added to the OneDrive folders on them, too.
You can also use the Finder to rename and delete files, create new folders, and move files around in your OneDrive folder. The changes will automatically be made in OneDrive and your other computers that have the sync app installed.
Syncing your Desktop and Documents on your mac to OneDrive
You can sync your Desktop and Documents folder on your mac to OneDrive so they're protected and available across all your devices.
To enable syncing of these folders, you will need to run the Sync Desktop and Documents to OneDrive tool in Self Service:
- jamfselfservice://content?entity=policy&id=3863&action=view (copy and paste into browser address bar)
This tool is only available on Brown Managed macs. For other devices, you will need to follow Microsoft’s manual instructions.
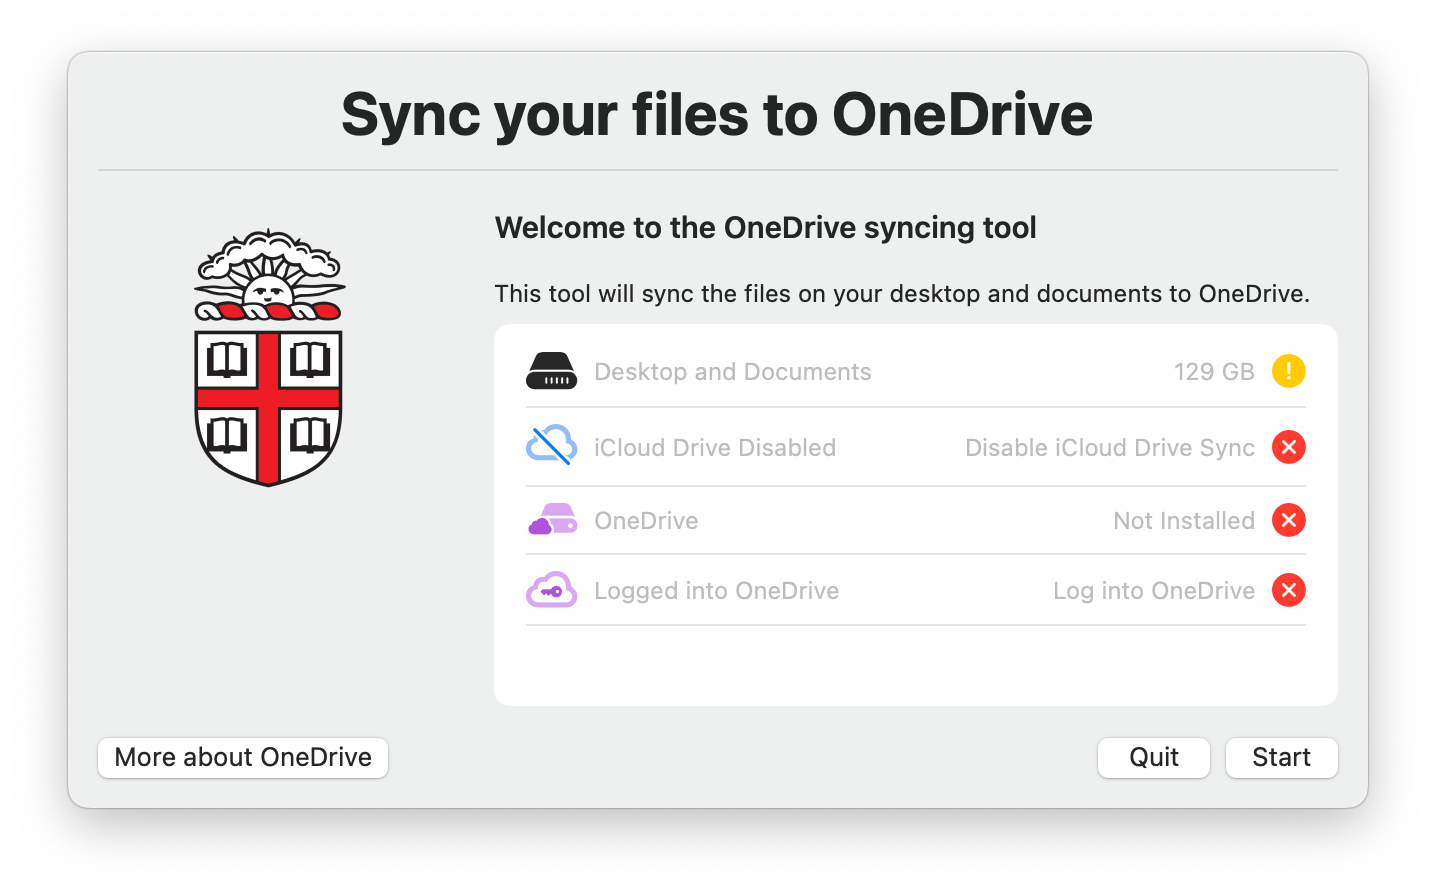
This tool will first confirm if your device meets the requirements for the OneDrive sync. Depending on the status of these requirements, you may be asked to disable some features, install programs, and login into OneDrive. You’ll be guided through each step as needed.
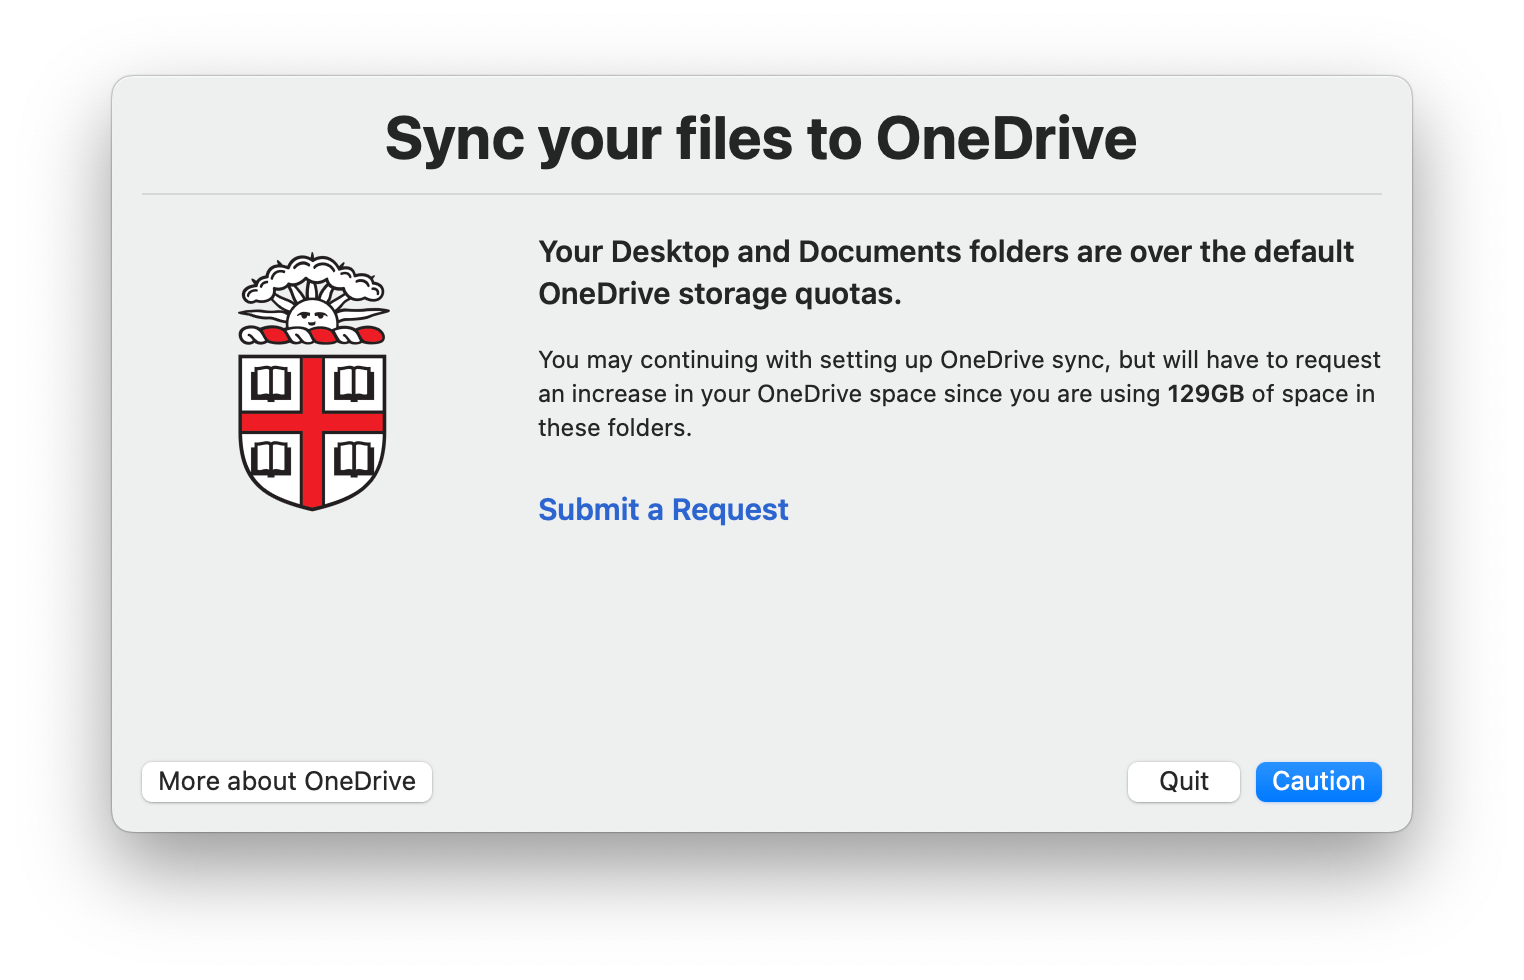
If your current Desktop and Documents folders contain more than 100GB of data, you will need to request an increase in your OneDrive quota. You can still go through the process but until your quota is increased only the first 100gb of data will be synced to OneDrive.
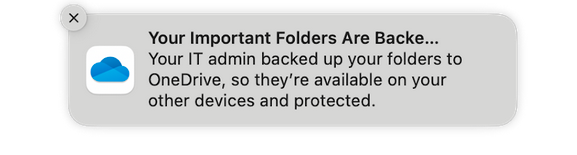
Once the process is complete, you’ll be logged into OneDrive and receive a notification that we are backing up your folders to OneDrive.
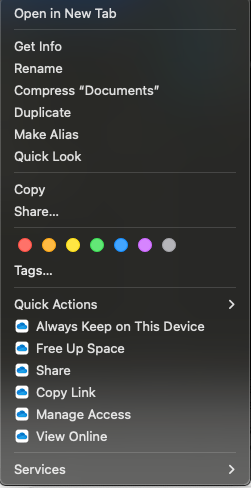
Managing Files & Folders
-
Right-clicking on a file/folder will give you a handful of options in the context menu