

Connecting through MyApps
Note: To connect to other FileMaker environments, not FileMaker-Level-3 or FileMaker-Level-2, or FileMakerK, please see instruction in this IT Help article.
Identify the name of the database you are connecting to and the FileMaker server it is located on. If you do not know this information, please consult your IT Support Consultant or Departmental Computing Coordinator.
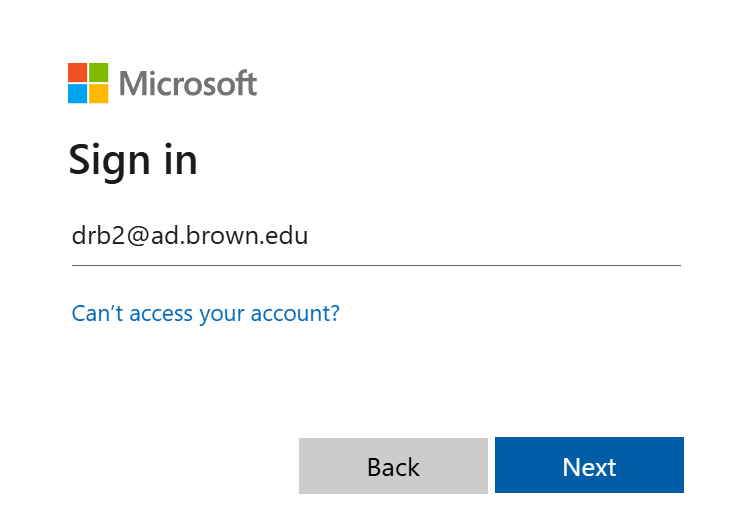
Visit myapps.brown.edu in your browser
Sign in using the Microsoft format of your Brown username (e.g., jcarberr@ad.brown.edu) and your usual Brown account password. Complete the DUO authentication.
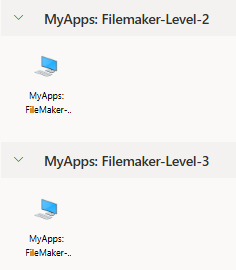
A list of available desktop environments will be displayed when you log in. You will select either MyApps: FileMaker-Level 2 or MyApps: FileMaker-Level 3 from the list.
A connection to the selected desktop environment will be created. You will be asked if your local clipboard and printer should have access to the environment. We suggest allowing the default options.
You will be prompted to log in again using the Microsoft format of your username (e.g., jcarberr@ad.brown.edu) and your usual Brown password. You will also be prompted to authenticate using DUO again.
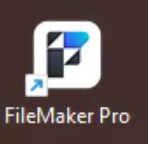
Launch FileMaker using the icon in the top-left corner of the MyApps desktop.
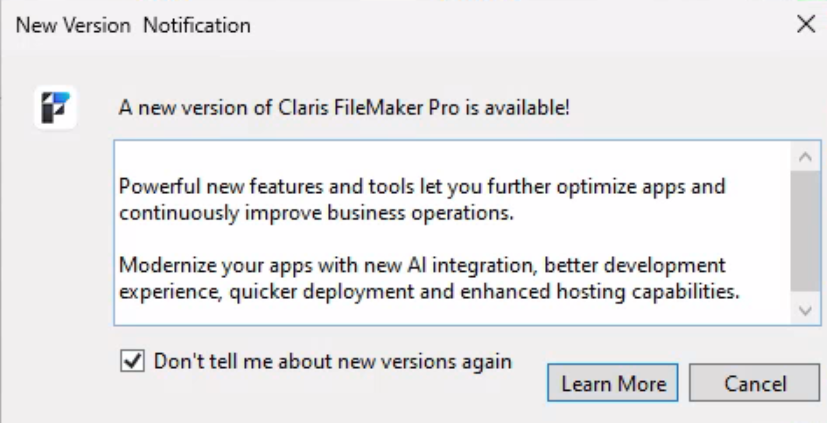
You must accept the FileMaker license agreement if this is your first time connecting through MyApps. You will also receive a pop-up notice for a new version. Check the “Don’t tell me about new versions again” box and click Cancel.
- From the text menu, select File > Hosts > Show Hosts… In the new window, select the plus (+) icon to the right of the search box to add a new favorite host
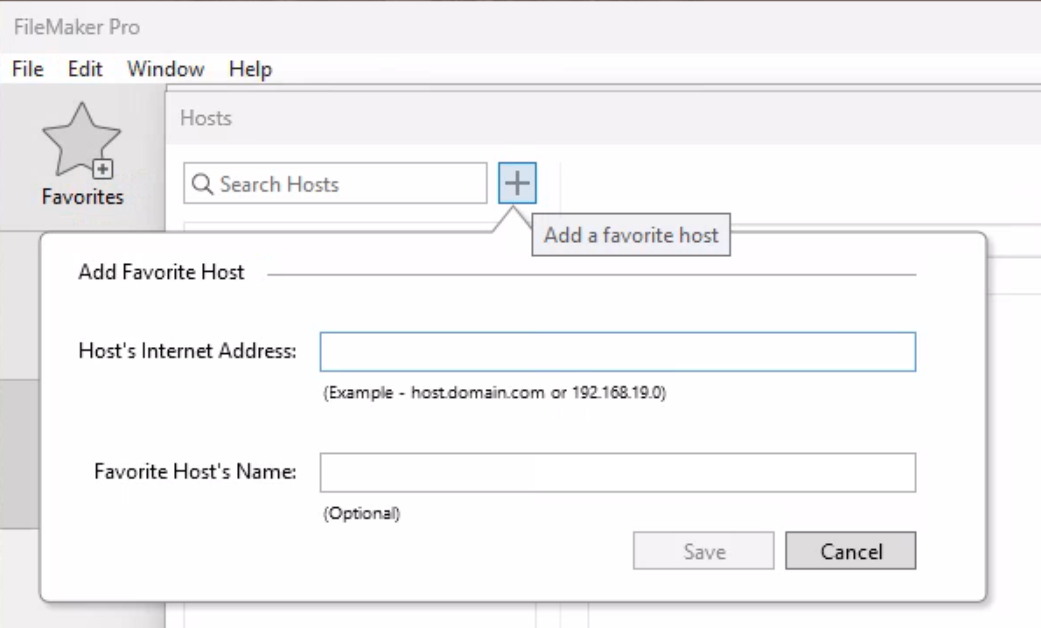
- For hosts use the following host internet addresses and the appropriate favorite host name, or leave blank to use server's address
- For FileMaker-Level-3 enter "filemaker-level-3.ad.brown.edu" for "Host's Internet Address"
- For FileMaker K enter "filemakerk.ad.brown.edu (Use MyApps FileMaker-Level-3)
- For FileMaker-Level-2 enter "filemaker-level-2.ad.brown.edu" for "Host's Internet Address"
Click Save. FileMaker will immediately attempt to connect and display databases on the selected server.
Locate your database in the list displayed and double-click to connect.
You should now be inside the selected FileMaker database. Moving forward, everything will behave as it always has. The next time you launch FileMaker on MyApps, your Recent tab will list the database you just connected to.