

Brown has enabled Zoom’s audio transcript option to automatically transcribe the audio of a meeting or class that you record to the cloud.
- The transcript is divided into sections, each with a timestamp that shows when that portion of the text was recorded.
- You can edit the text to more accurately capture the words, or to add capitalization and punctuation, which are not captured by the transcript.
- You can search for text within the transcription and you can search for transcribed recordings that include the text you are searching for.
Generating a Transcript
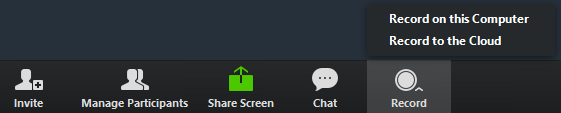
- Start a meeting or webinar
- Click the Record button and choose Record to the Cloud
- After the meeting ends, you will receive an email that lets you know that your cloud recording is available. A short time later, you also receive a separate email letting you know that the audio transcript for the recording is available. These emails include links to view your recordings and transcript.
Viewing and Editing the Transcript
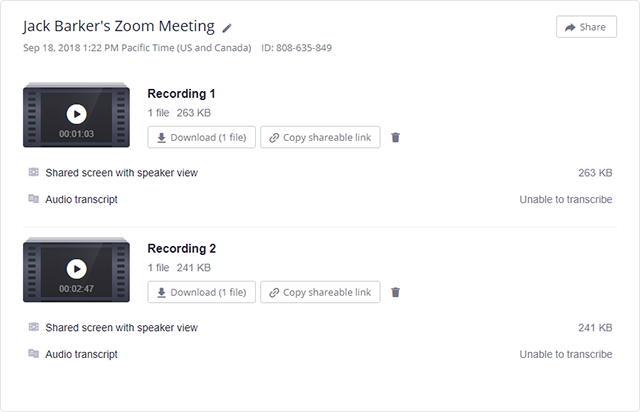
- Click the link in the email OR navigate to the My Recordings page on the Zoom web portal and click the name of the recorded meeting.
Notes:- This opens the Recording Details page, which includes at least two files:
- Audio Only (m4a)
- Transcript Recording (vtt)
- If you selected other files for the cloud recording, these will also be included:
- Recording (mp4)
- Gallery view (mp4)
- This opens the Recording Details page, which includes at least two files:
- Click the Audio Only m4a file, or the Recording or Gallery View mp4 file, if available. The text of the transcript displays on the right-hand side of the file.
- Navigate to the Audio Transcript panel on the right and click the pencil icon next to the phrase you want to edit.
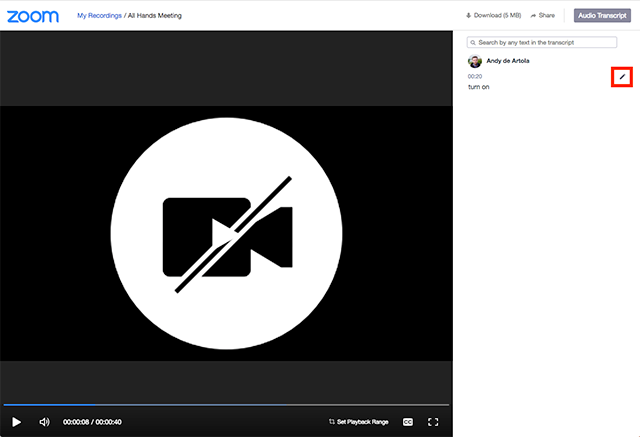
- Make any changes to the text, then click Save. The updated version of the text is displayed when you play the audio or video file.
Embedding your Transcript
The transcript is automatically embedded within the audio and video file. To see the transcript embedded in the audio or video file:
- Open the audio or video file from My Recordings.
- Click the Play button.
- Click the CC icon at the bottom right of the screen.
The text displays on top of the video, similar to closed captioning.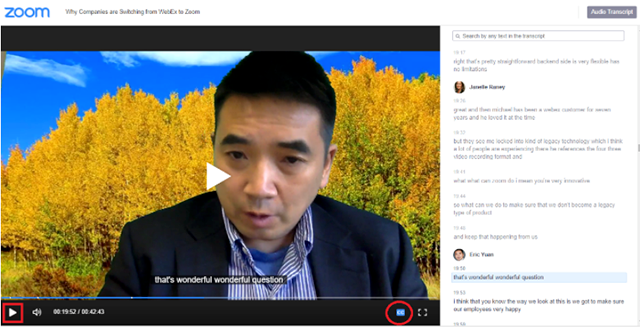
Searching within the Transcript
- Go to My Recordings.
- In the Search by list, choose Keyword.
- Type a word or phrase in the text entry box, then click Search.
Note: This shows the list of meetings that includes the keyword in the transcript. - Click the applicable meeting to view the transcript.
- Click the Audio Only m4a file, or the Recording or Gallery View mp4 file, if available. The text of the transcript displays on the right-hand side of the file.
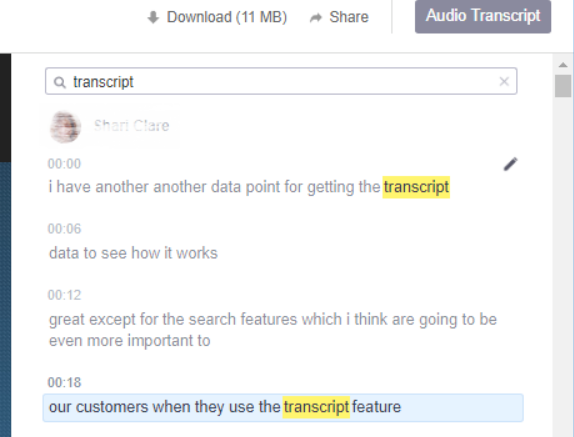
- Navigate to the Audio Transcript panel on the right and type the keyword into the search box at the top. All instances of the keyword are highlighted.
Please note that since transcripts are machine-generated, they will not be 100% accurate.
- If you need captioned content for accessibility reasons, please contact SEAS (Student Accessibility Services.)
- Questions about captioning? Contact [email protected]