Remote Accessible - Zoom Room
Welcome to your ZOOM-ROOM Classroom. This room has all of the normal Audio and Video capabilities in addition to ZOOM being integrated into the room system. This means you will be able to access your scheduled Zoom meeting without a laptop or another device. All you will need is the Scheduled Zoom Meeting ID. Once you enter this Meeting ID into the Zoom Room Controller, you will be connected to the meeting.
1. To begin, Press the Zoom button the Main or Basic page of the Touch Panel.
* If you plan to present from your laptop, make sure to plug the HDMI cable into your laptop, assign the Podium Laptop to ZOOM HDMI Content, like shown in the picture below.
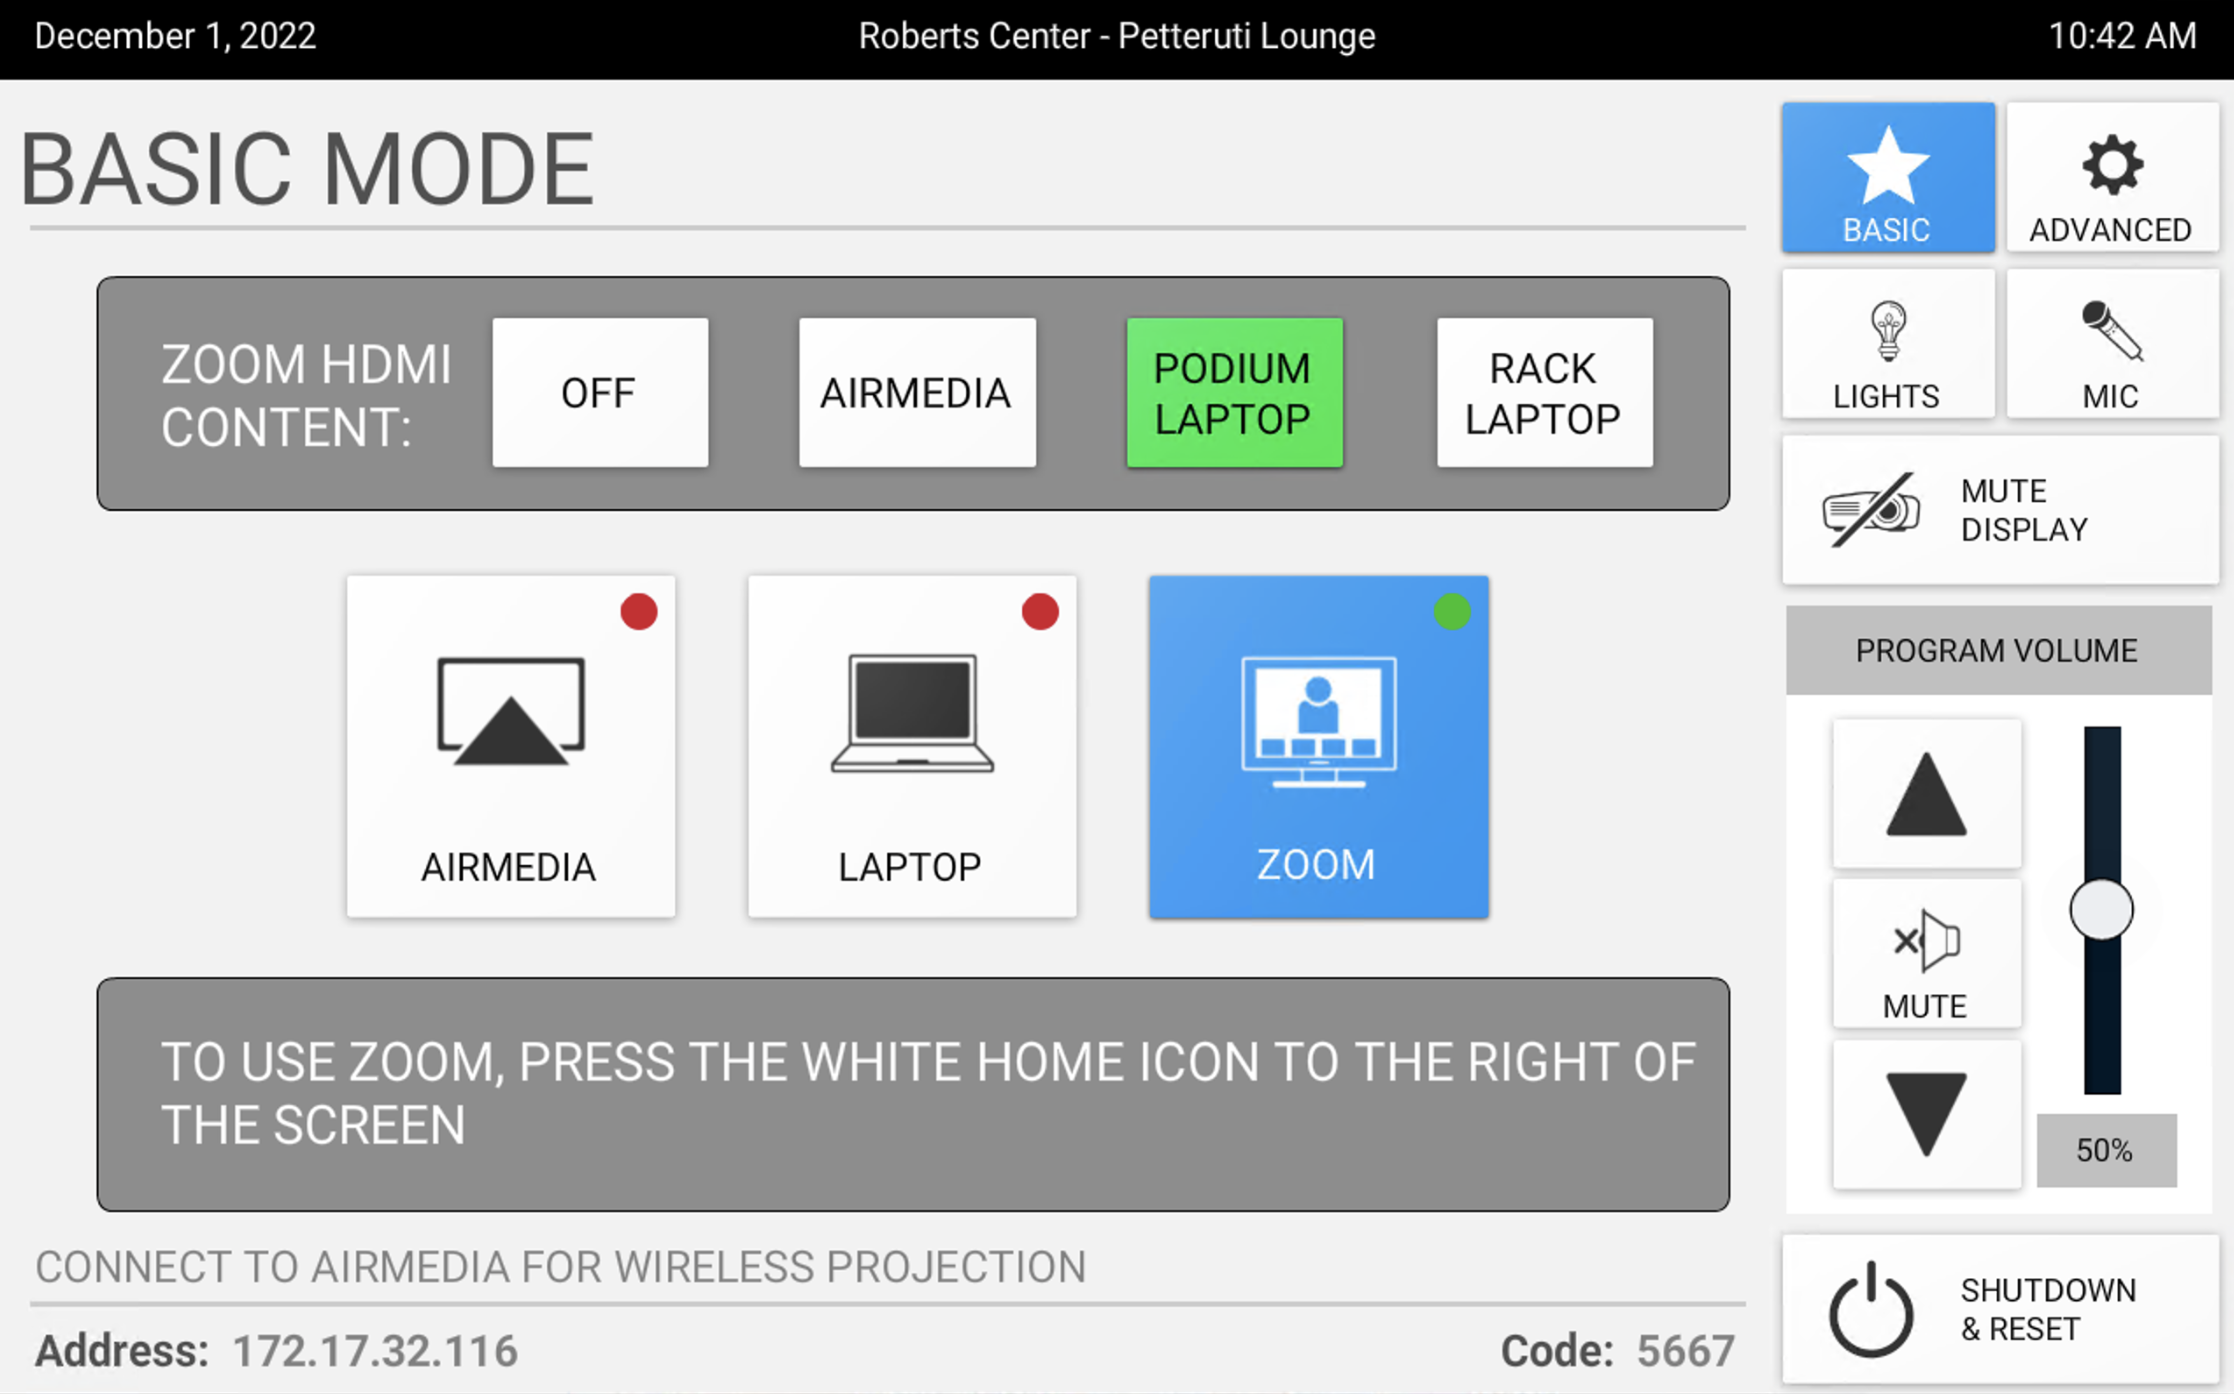
2. To enter into the ZOOM interface on the touch panel, press the Home Icon located at the top right of the touch panel.
**If you do not see the home button on the top right, there is a hidden tab on the touch panel at the top center. Tap the tab and press the Home Icon. See picture below
3. To join your scheduled meeting, Tap the Join icon, on the left side of the screen.
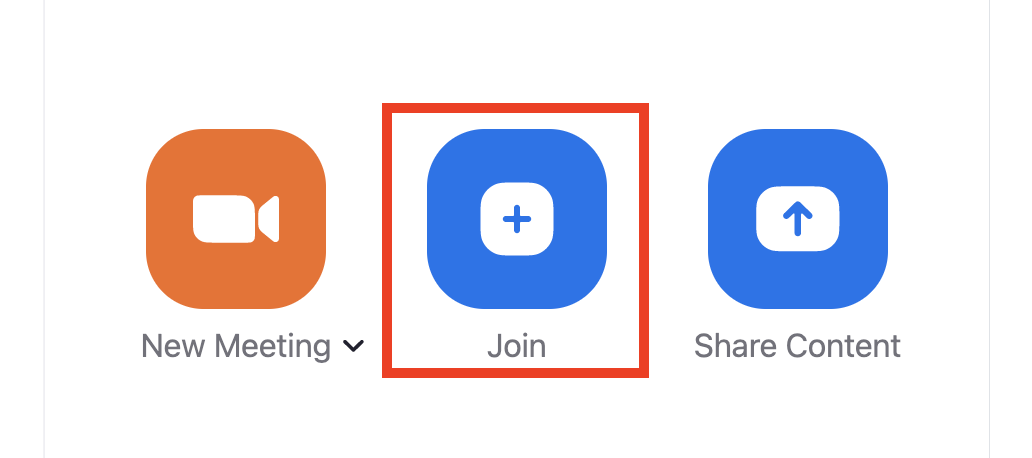
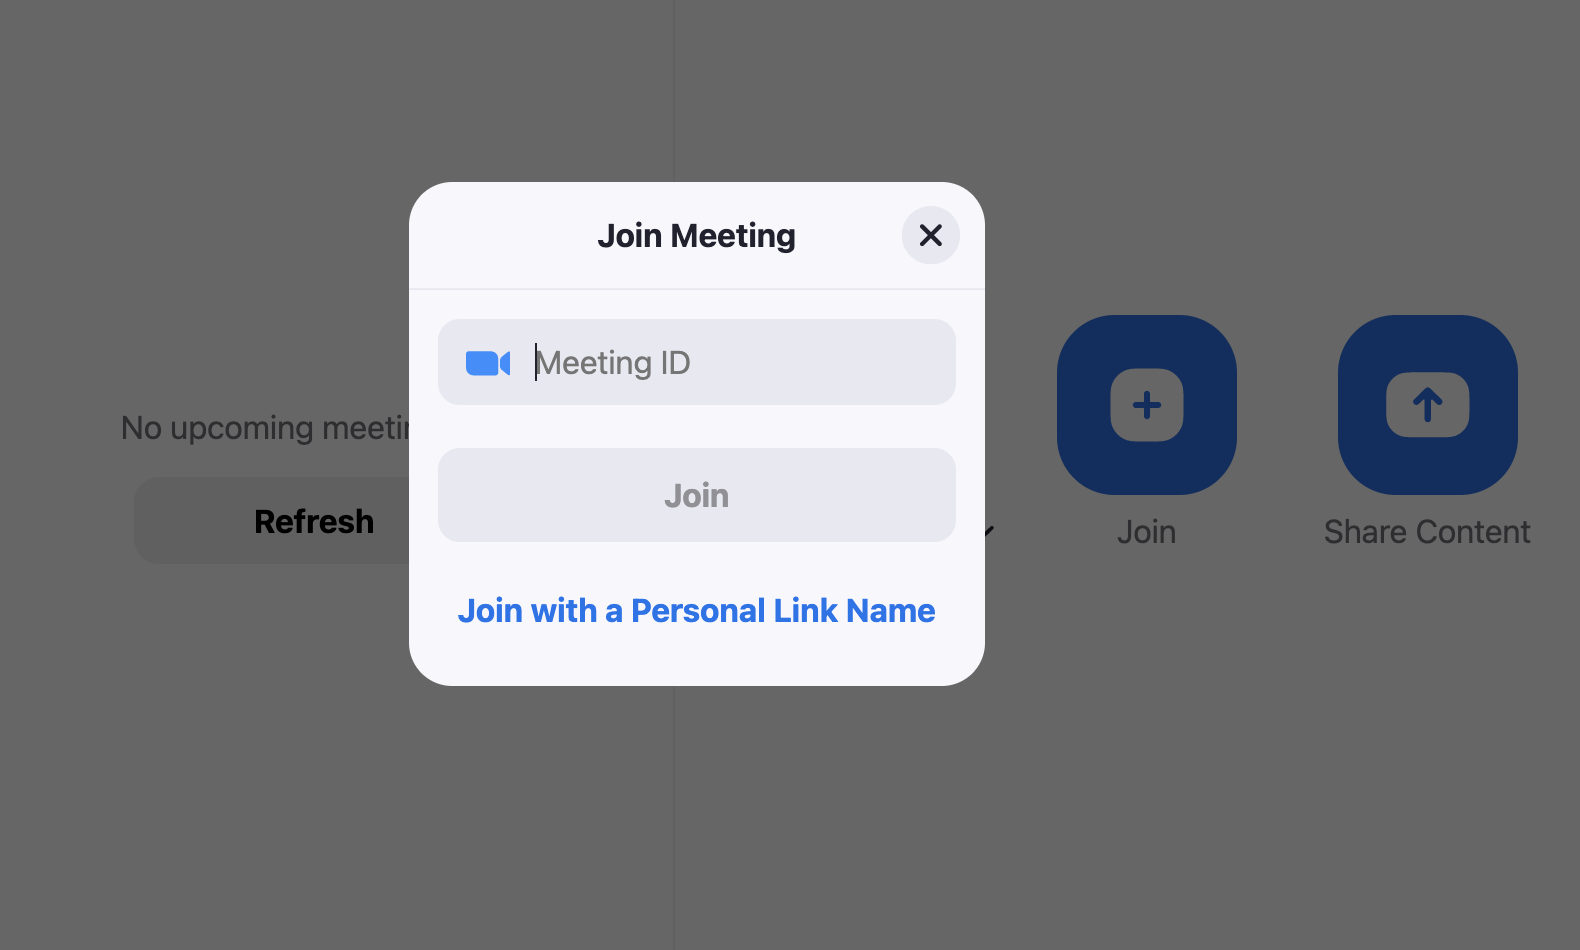
4. Enter the Meeting ID on the number pad.
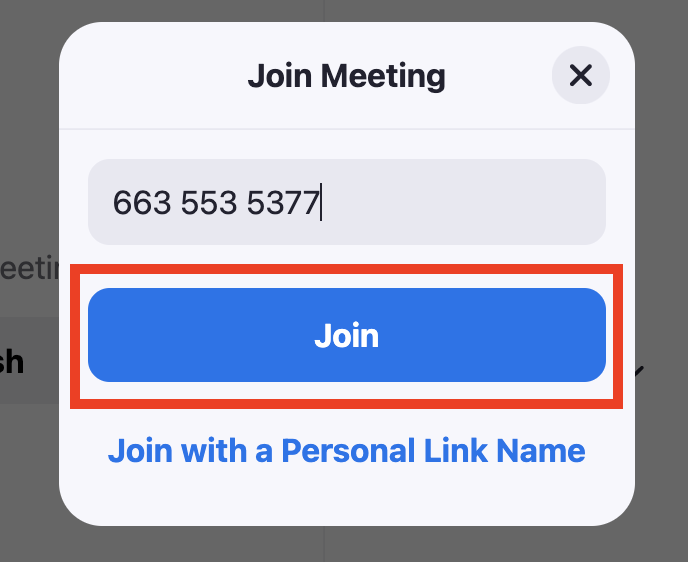
5. Tap Join in the bottom right, to start the meeting.
6. Depending on which ZoomRoom you are in, there may be boundary microphones within which will not require you to use a handheld, podium or Lav microphone within the room. However, for most ZoomRooms you will need to use the microphones available in the room, in order for the remote participants to hear you.
7. Ensure you turn on the microphone and video camera by selecting the Start/Stop Audio and Video buttons so they do not have a slash line through them.
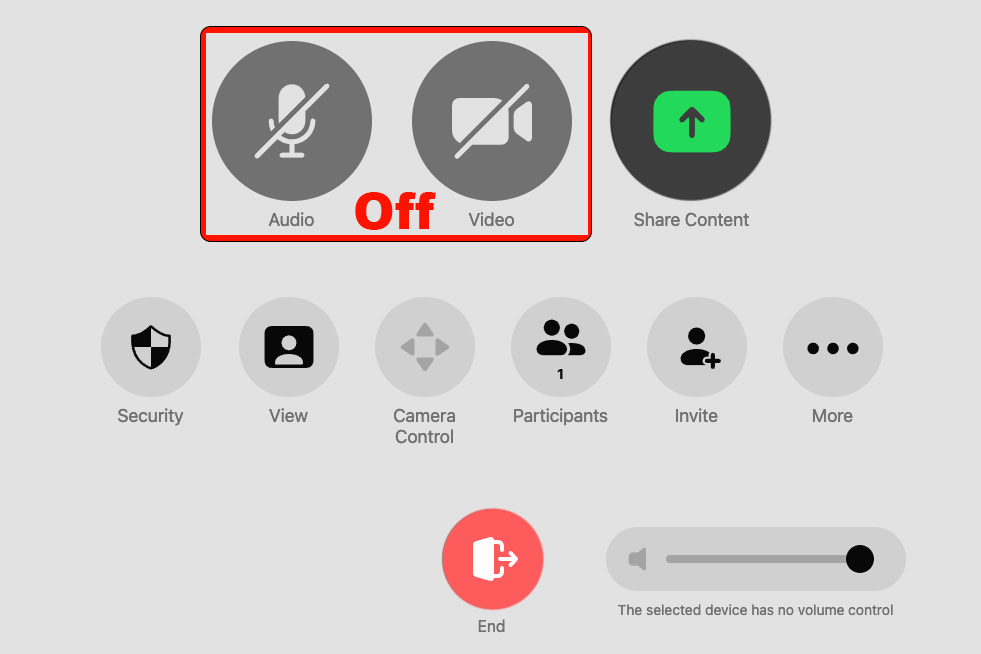

8. Once the meeting has begun, if you want to share slide or video content from your laptop, you can use the system as you normally would. Simply plug your laptop into the HDMI and press the Share Content icon.
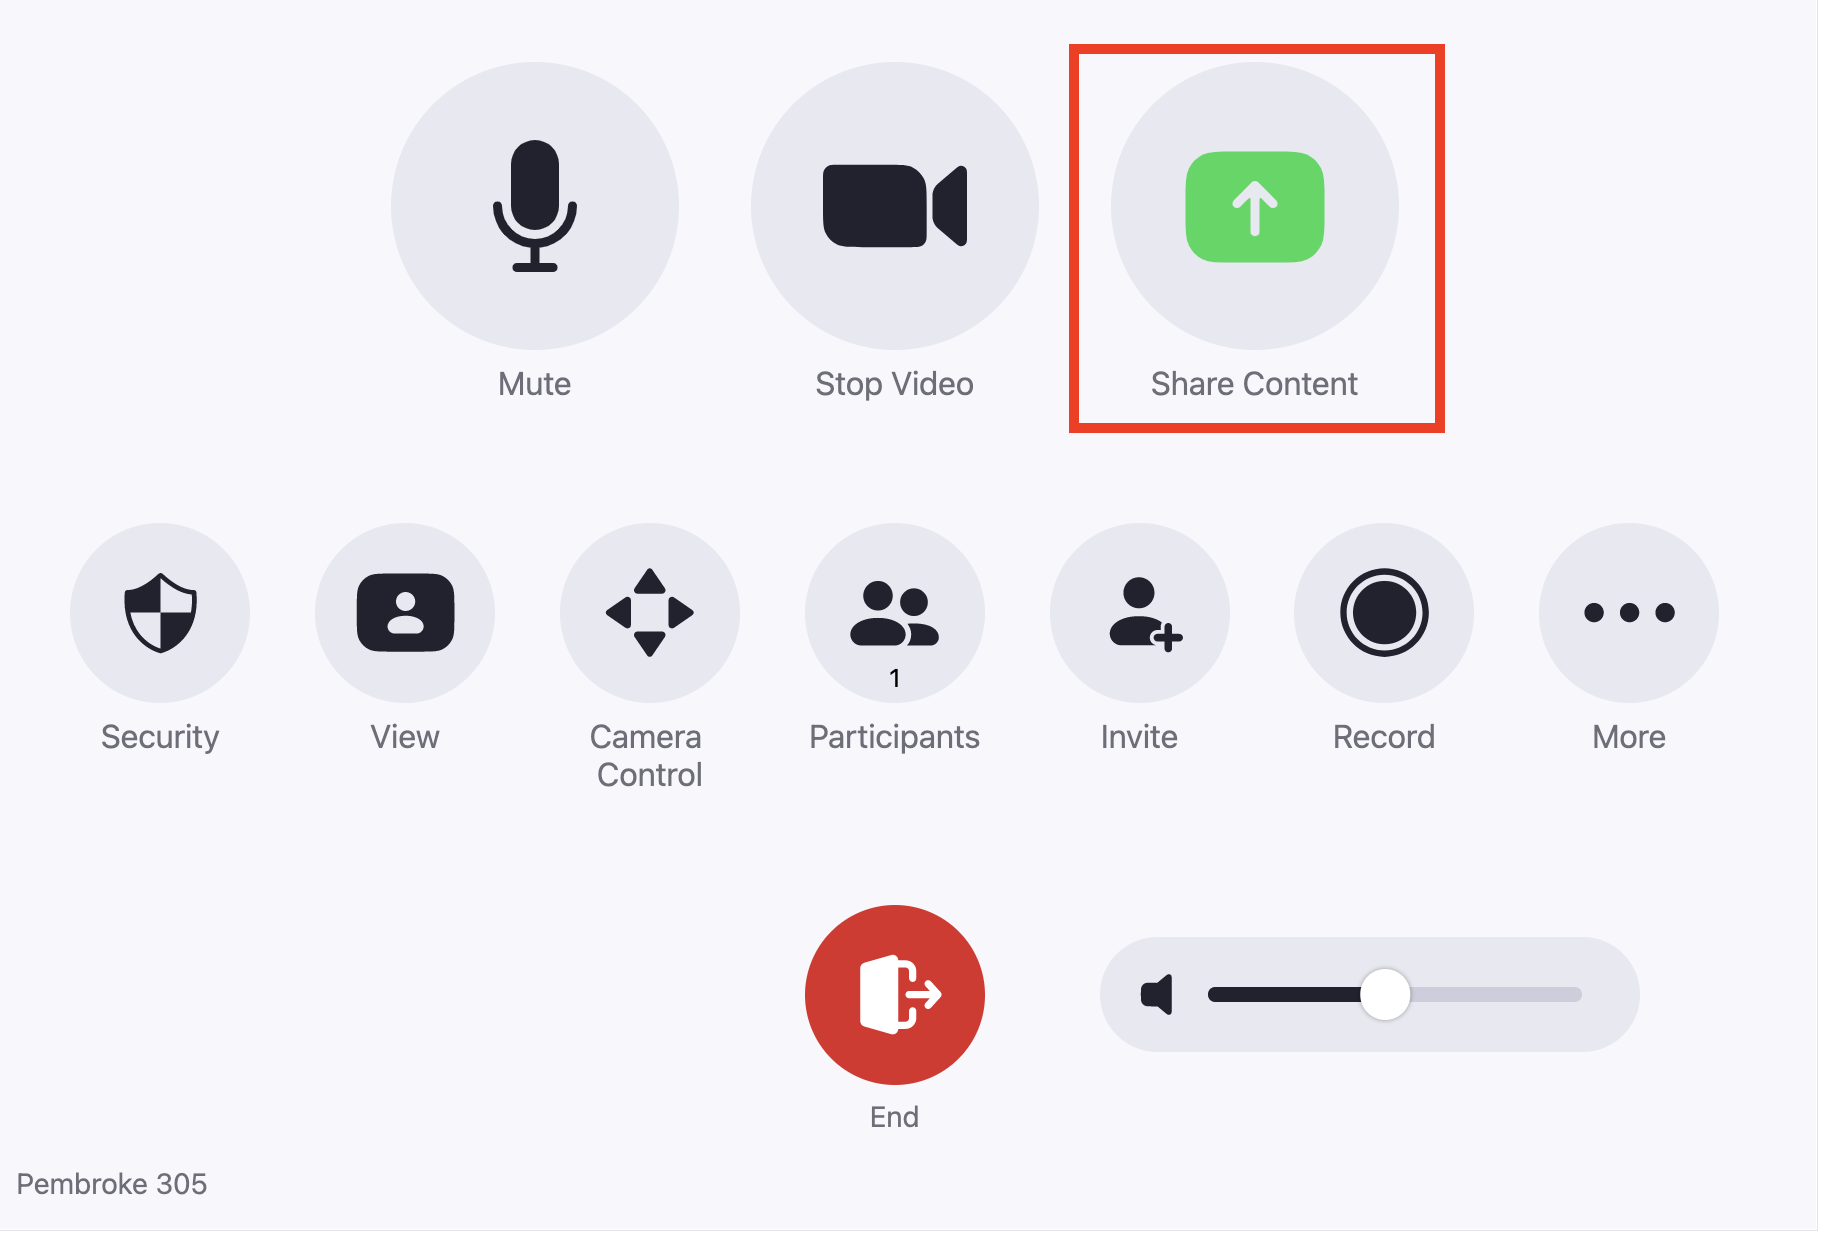
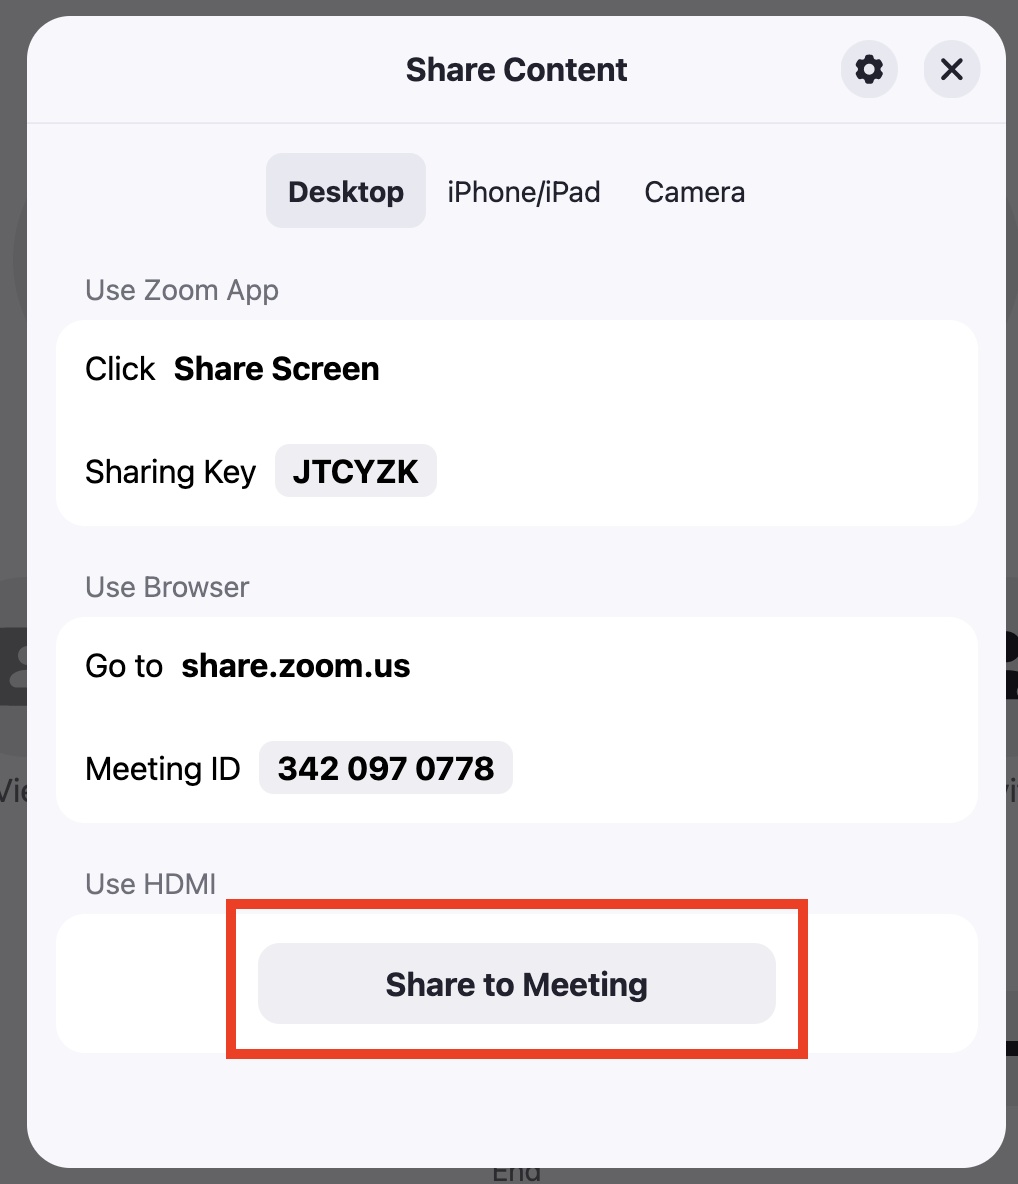
Then press the Start Sharing button. Your computer image display within the room but it will also be shared and displayed with the remote participants within the ZOOM meeting.
9. When your class has finished, end your meeting by pressing the Leave icon at the bottom of the Zoom screen.

