

Introduction
Concatenating in Cognos Analytics allows you to combine 2 data items in a list column.
For example, if you have First Name and Last Name data items, you might want them to appear together in a single "Name" column .
There are 2 methods to concatenate data items in a list column. We’ll use the name example above to demonstrate these methods.
Use a query calculation
Unlock page layout and drag multiple data items to a list column
Method 1: Use a Query Calculation
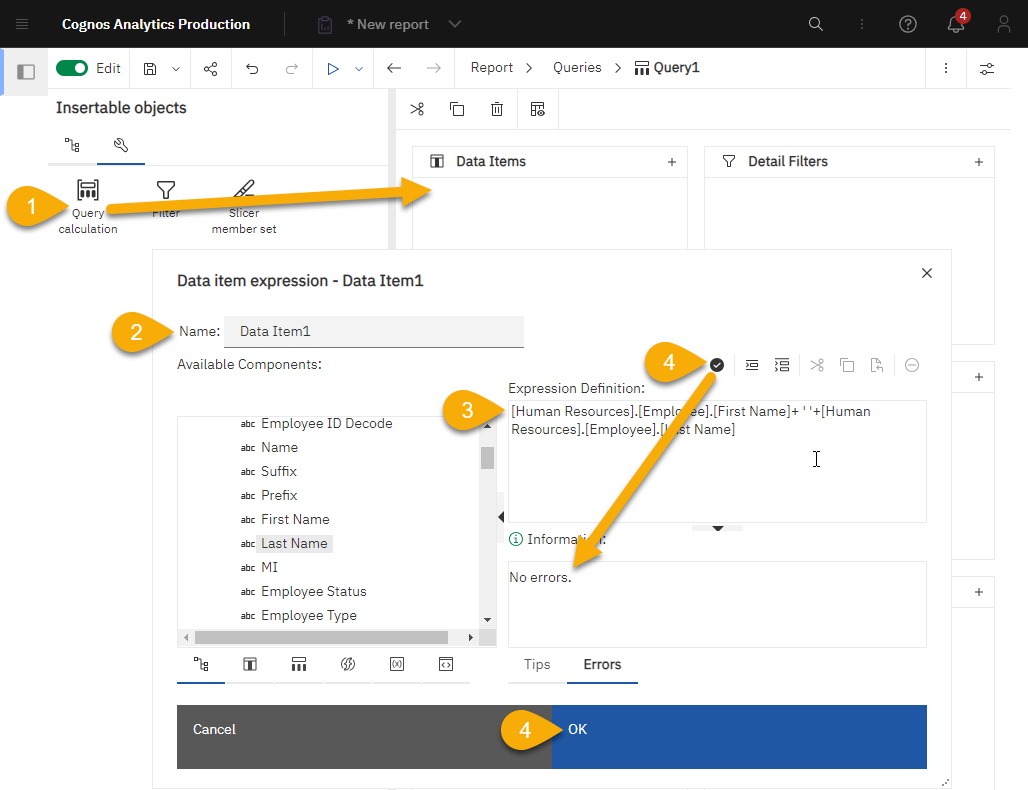
From the Toolbox drag a Query Calculation to your list.
In the Name field, give your data item a name.
Since we are creating a concatenation of first and last name, we’ll call it 'Name' for this example.Into the Expression Definition field:
Drag First Name.
Type + ‘ ‘ +
That's: plus, single quote, space, single quote, plus. The plus sign combines data items, and the single quotes before and after a single space adds a space between first and last name values.
TIP: Don’t copy and paste from this document. Characters from other applications don't always copy in the same format Cognos Analytics expects.Drag Last Name.
Validate your expression, and then click OK.
Run the report to test your results.
Method 2: Unlock Page Layout and Drag Multiple Data Items to a List Column
In the reporting tool on a report page, in order to insert multiple objects in a single list column, you must unlock the page objects. The page is locked by default to prevent you from accidentally inserting multiple data items to a column.
Click the Lock Page Objects icon.
The icon appears unlocked.
Drag the First Name data item to your list.
NOTE: If you want to arrange your data items in a table (for example to format a mailing address), insert a table into the list column, and then insert data items into the table.To add a space after First Name, from the Toolbox, drag a Text item to the First Name column and drop it to the right of the First Name data item.
NOTE: As an alternative, you can add a space with the Padding property, by adding padding to the right of the First Name data item.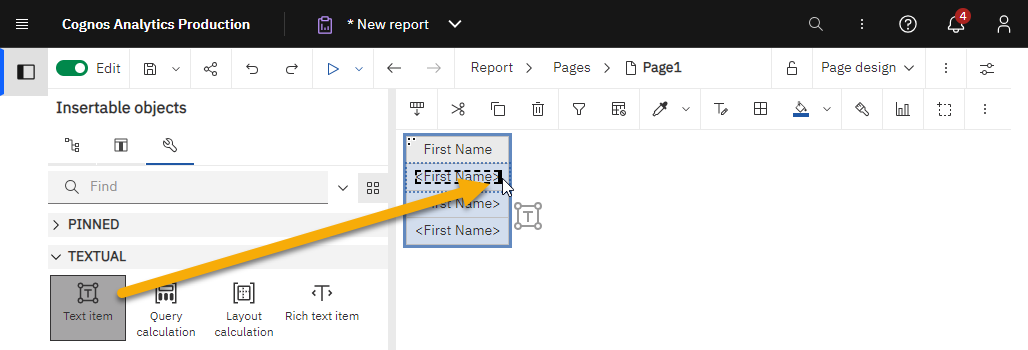
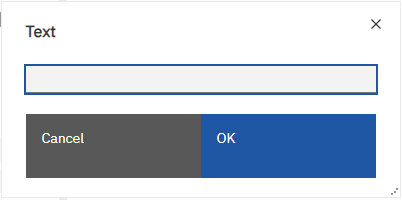
In the Text box, type a space and then click OK.
Click and drag the Last Name data item to the right of the space you just added in the First Name list column.
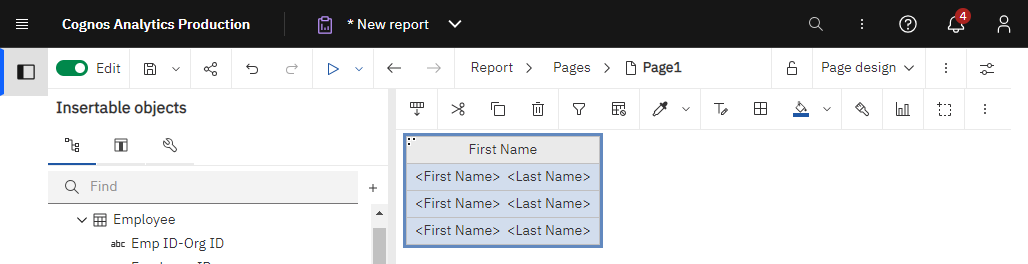
Select the First Name column heading, and then in the Properties pane, in the Label field, type Name.
The column heading is renamed.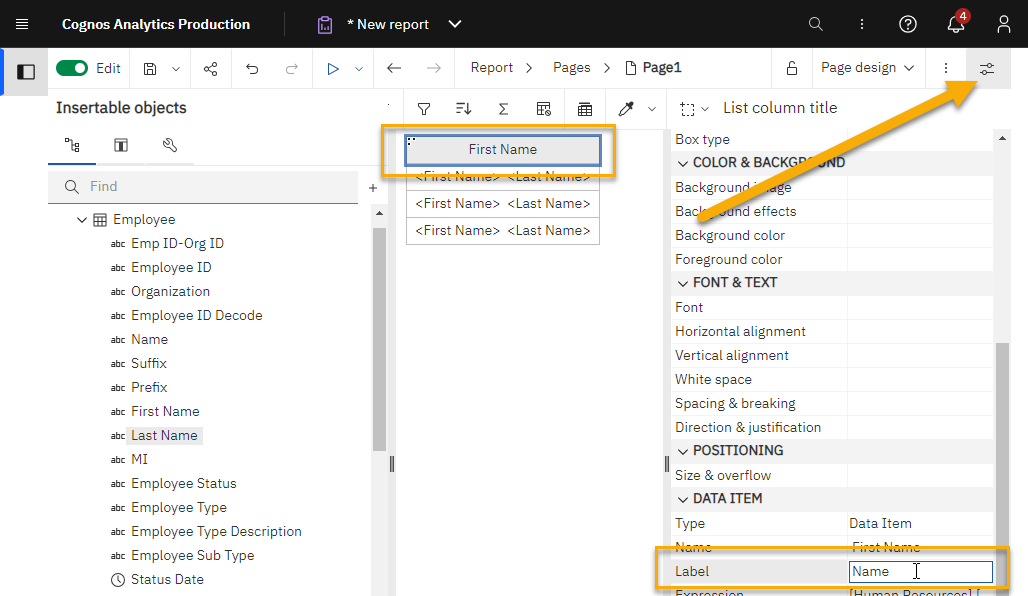
Click the Lock Page Objects icon.
The page is locked.Run your report to test the results of your concatenation.